
 |
| CamJam EduKit 1 kit contents |
Cambridge Raspberry Jam: http://camjam.me/
Can be purchased from (in UK): https://thepihut.com/collections/camjam-edukit/products/camjam-edukit?variant=771534813
Code and Worksheets: https://github.com/CamJam-EduKit/EduKit1
Kit Contents:
1 x Breadboard
1 x Buzzer
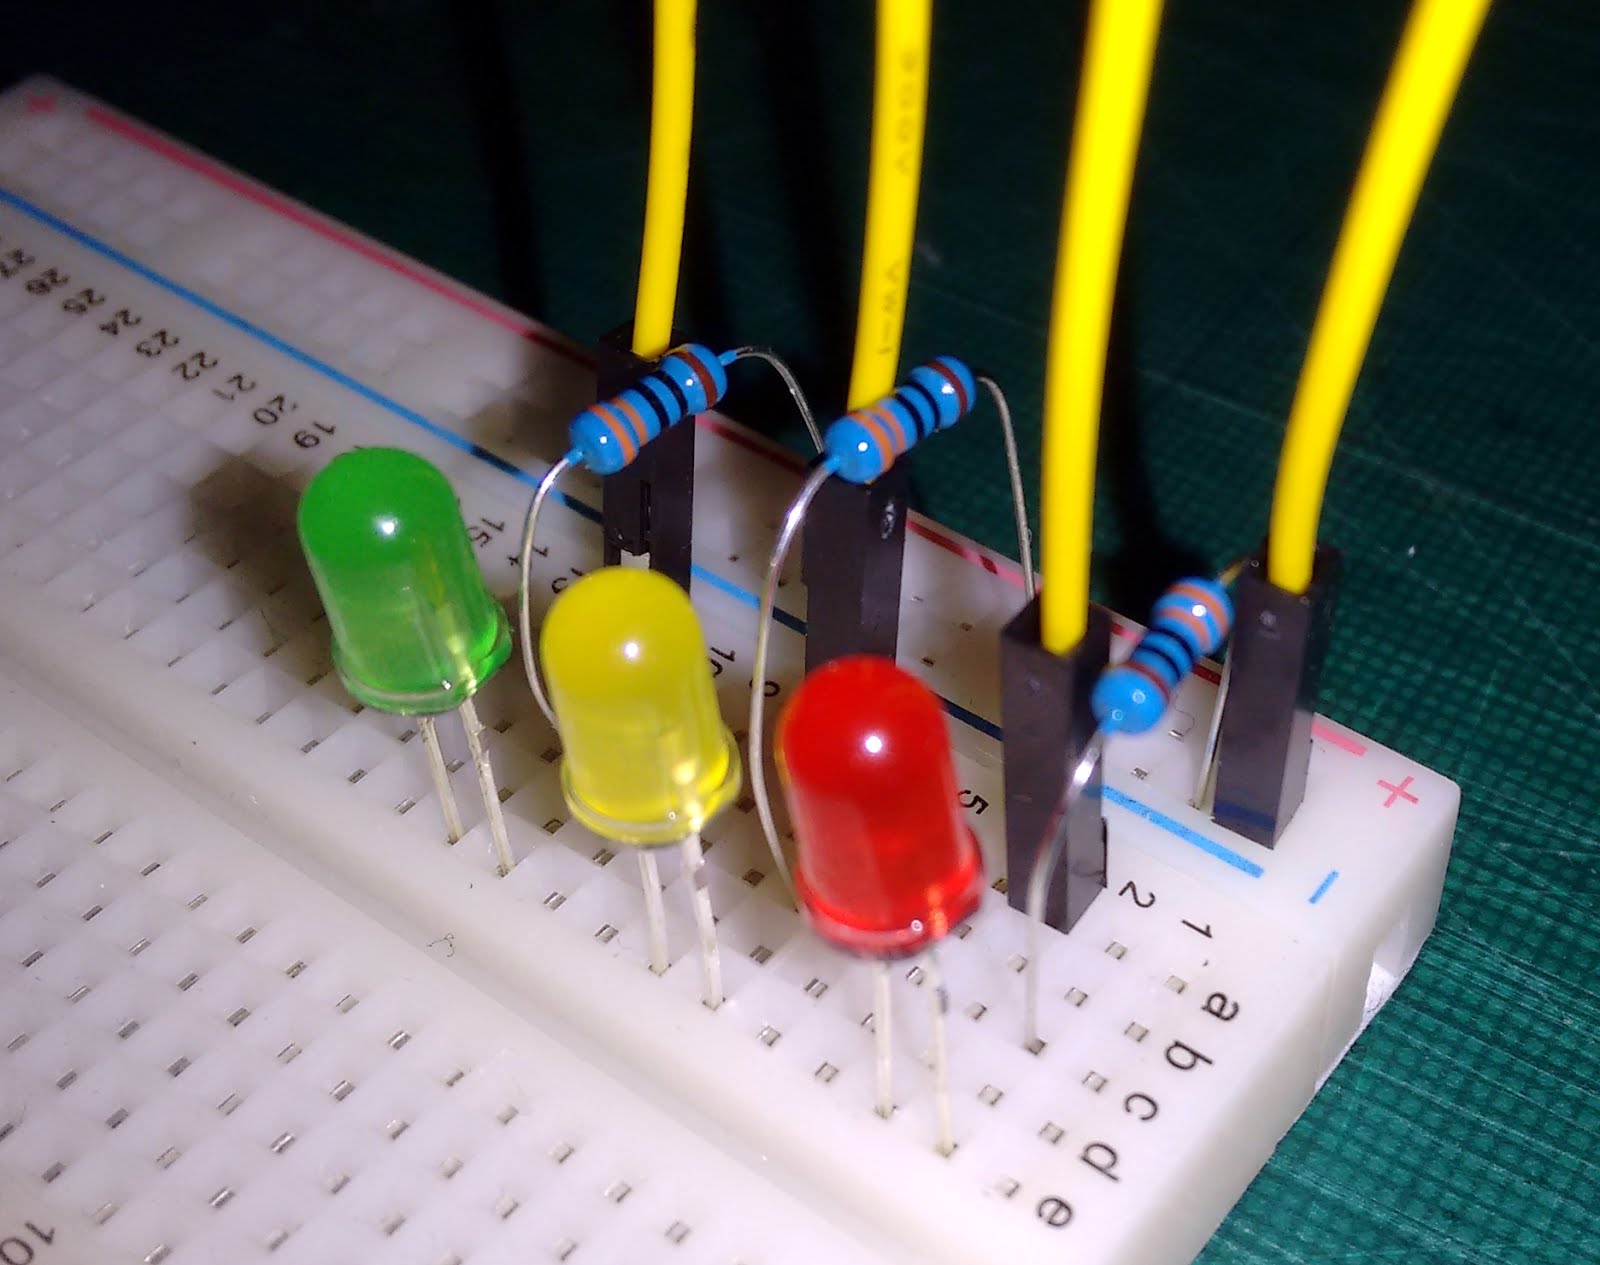
1 x Red LED, 1 x Yellow LED, 1 x Green LED
1 x Push Button
3 x 330ohm Resistor
1 x 4.7k ohm Resistor
7 x Male/Female Jump Wires (All Yellow)
2 x Male/Male Jump Wires (Both Green)
Worksheet One:
The first worksheet takes you through getting things set up on your Raspberry Pi, everything is very well explained, in easy to follow steps.
Worksheet Two: Starting to actually build a circuit
Even though I have ones of different colour Jump wires, I'm going to stick with the items that came with the kit.


The first programme switches all three LEDs on, the second programme switches them all off. Learnt importing Library, define which pins are going to be used and what they are going to be used for, and switching the LEDs on and off.

The first programme switches all three LEDs on, the second programme switches them all off. Learnt importing Library, define which pins are going to be used and what they are going to be used for, and switching the LEDs on and off.
 |
| Left: On - Right: Off programmes |
Worksheet 3
Still using the same wiring this worksheet teaches how to get the LEDs to blink with first by adding the first two programs together and repeating them, then introduces the LOOP.
 |
| Left: Blink Twice - Right: Blink Forever programmes |
One line of code I have got to try and remember, as it could come in very useful is: GPIO.cleanup() as this makes sure the GPIO pins are all off/LOW.
Worksheet 4
This worksheet is still using the same wiring, but now the programme introduces user input. You choose which LED to blink, and how many times it will blink.
 |
| 4 -Code |
No comments:
Post a Comment